Manage Office 365 Groups with PowerShell
There are a few compelling reasons to move to Office 365, and in my opinion, Office 365 Groups are...


Back in September of last year, I wrote an article about Multi-Factor Authentication for Office 365. Since the cloud refuses to stand still, it looks like it’s time to update that post with some new information.
The original problem of Office 365 not being a single application, but rather a collection of applications, still exists. The Multi-Factor Authentication (MFA) story for the individual parts of Office 365 is, unfortunately, still disjointed and inconsistent. It will most likely be years before Microsoft can build all of the services within Office 365 into a coherent and operational framework, if such a change could even happen.
Luckily, Microsoft has made some strides in the MFA story for Office 365 since my September blog post, so let’s pick up where that post left off… “Which applications do I need to use the app password for?” The biggest change I want to address in this blog post is using MFA for PowerShell connections to Office 365 services.
Before I get into the MFA updates for Office 365, I wanted to touch on a nifty little bit of MFA functionality for Microsoft accounts.
There is a cool new MFA option for your Microsoft account (Outlook.com, Xbox.com, etc.) that allows you to not use your password at all. This feature is not yet available for Office 365 accounts, but I’m guessing it will be at some point in the future so I’m going to mention it here.
This new authentication method uses the Microsoft Authenticator app on your phone. I have an iPhone, but the app works the same on Android as well. Once you install that app on your phone, you can proceed to account.microsoft.com.
From the Microsoft account webpage, you can navigate to Security > More Security Options > Two-Step Verification and click the link to setup two-step verification.
Here I should take a break to talk about two-step verification vs two-factor authentication. This feature is called two-step verification, but I’m calling it two-factor authentication. For me to log into my Microsoft account, I need to approve the log-in in the Microsoft authenticator app then scan my thumb on my iPhones thumb scanner. For me, that’s two factors (my phone and my thumb). If you’re setting this up on a phone without a fingerprint reader, you may not get two factors. Either way, I think this new feature is neat, and I expect it will make its way to Office 365 at some point.
Once this is setup, you can log into your Microsoft account by approving the log in with your authenticator app. You never have to type in your password, which I think is great.
Now, it's time to get back to our regularly scheduled Office 365 blog post. Let’s talk about the recent improvements to MFA for Office 365.
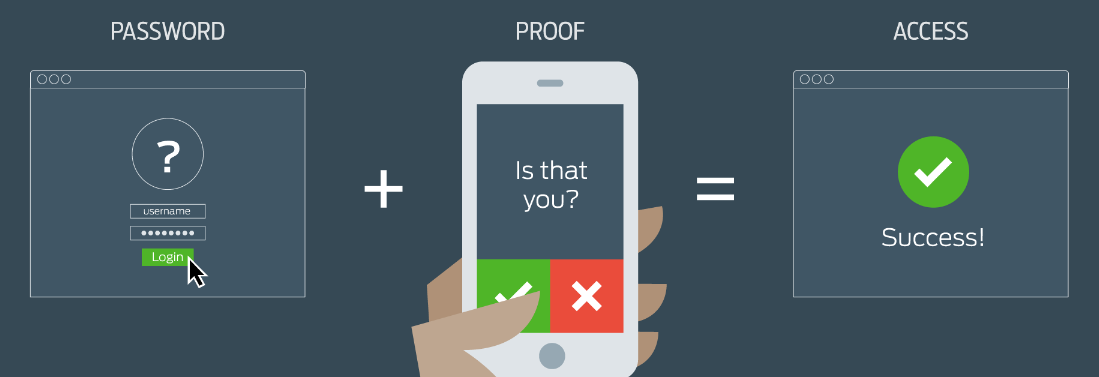
The real MFA feature for Office 365 I wanted to talk about is MFA for PowerShell. It is now possible to turn on MFA for your administrator accounts and have those administrators use MFA to run your Office 365 tenant. Yay for us!
For the entire history of Office 365 up until now, turning on MFA for your administrators meant that connections to remote PowerShell for those accounts would have to be done with an app password. This is not MFA, and does not really provide any additional protection over standard passwords. It’s just a different password.
The updates to PowerShell that allow real MFA are not all rainbows and butterflies though. Regular readers of my posts will know that a common complaint I have about Office 365 is that it’s marketed and sold as one product, but it is built as four or more separate technologies. That theme is continued though the PowerShell updates that allow us to use real MFA for managing Office 365.
For the rest of this article, I’m going to break down how to connect to the separate technologies with real Multi-Factor Authentication.
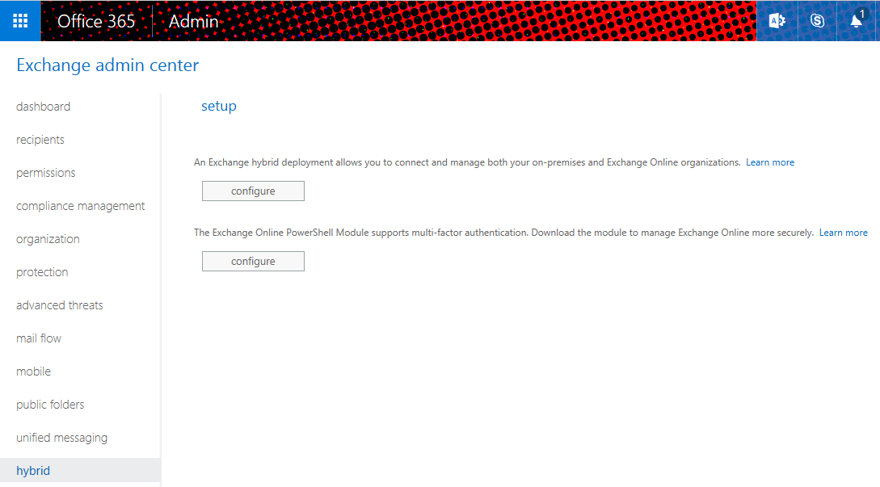
To connect to remote PowerShell for your Exchange Online tenant, you need to download a specific PowerShell module. The best place to download this PowerShell module is from your Exchange Online EAC in the Hybrid section as pictured below.

Under the link for the new HCW, you can now download the Microsoft Exchange Online PowerShell module. Once downloaded, using this new PowerShell module is quite straightforward. Launch the module and run the cmdlet:
Connect-EXPPSession -UserPrincipalName <UPN>
Running that cmdlet will launch the Modern Authentication process and allow you to authenticate to Exchange Online via your pre-configured MFA process.
Instructions for installing the Azure AD PowerShell module can be found here. The process is, of course, completely different for Azure AD than it is for Exchange Online. After you install the Azure AD PowerShell module, you can access it from standard PowerShell running the cmdlet:
Connect-AzureAD
From there, you’ll be asked if youd like to authenticate using Multi-Factor Authentication. Typing y will launch you into the Modern Authentication process.
The Skype for Business Online Windows PowerShell Module can be downloaded here. Again, this is a completely different download and running process than the other two modules.
After you install the Skype for Business Online module, you can launch a normal PowerShell module and run the following cmdlet:
New-CsOnlineSession
This will ask you to enter your UPN, then take you to the Modern Authentication process.
The SharePoint Online Management Shell (even the names of these modules are not consistent) can be downloaded here. After it is installed, you’ll have a SharePoint Online Management Shell application to launch.
You can either launch the SharePoint Online Management Shell from your start menu, or run the standard PowerShell module and the run the cmdlet:
Connect-SharePointOnline
From there, you’ll be asked if you want to use MFA, and then you’ll be asked to enter your tenant ID.
Those four PowerShell modules will allow you to connect to your Office 365 resources for PowerShell administration. I do wish they were more consistent, but I guess we must work with the tools we’re given.
We can make the process a bit more consistent with community built PowerShell scripts like the one from Michel de Rooij.
As you use these PowerShell modules, you many find many more actions that need to be done differently in each environment. Hopefully, Microsoft will clean that up soon. Until then, these modules are a big improvement from 8 months ago.

Nathan is a five time former Microsoft MVP and he specializes in Exchange, Microsoft 365, Active Directory, and cloud identity and security.


There are a few compelling reasons to move to Office 365, and in my opinion, Office 365 Groups are...


How can EXO recipient management be done without the need of administrative accounts? This question...