Preservation Policies in Office 365
Preservation policies were introduced almost a year ago as part of the Compliance Center in Office...

Spoofing has long been one of the biggest issues with email, and with the move to cloud services in the last few years it has become an ever hotter topic. Although a number of features designed to combat spoofing exist, many of which have been discussed on the blog, no perfect solution is available. To make matters even worse, configuring some of these features might require in-depth knowledge and prolonged involvement by the costumer. This in turn creates a situation where the expectations of small organizations, such as that everything should be configured by the cloud provider, are not met.
Microsoft has recently started rolling some very promising anti-spoofing features in Exchange Online that should (hopefully) help with that. You can find a great overview of what’s to come in Terry Zink’s blog article here. As noted in the blog post, the rollout should be complete by Q2 2016, so the features will most likely not be available for your tenant just yet. We are not left empty handed however, so let me introduce you to another cool feature, available now. Namely, the new Spoof mail reports for Exchange Online/Office 365.
The Spoof mail report can be accessed either via the Office 365 Admin portal or via PowerShell. If you prefer the UI, make sure you are not using the Preview version, as the report is not yet surfaced there. So switch back to the good old Office 365 Admin portal and navigate to the Reports tab on the left. There, under the Protection reports, you will notice the new entry.
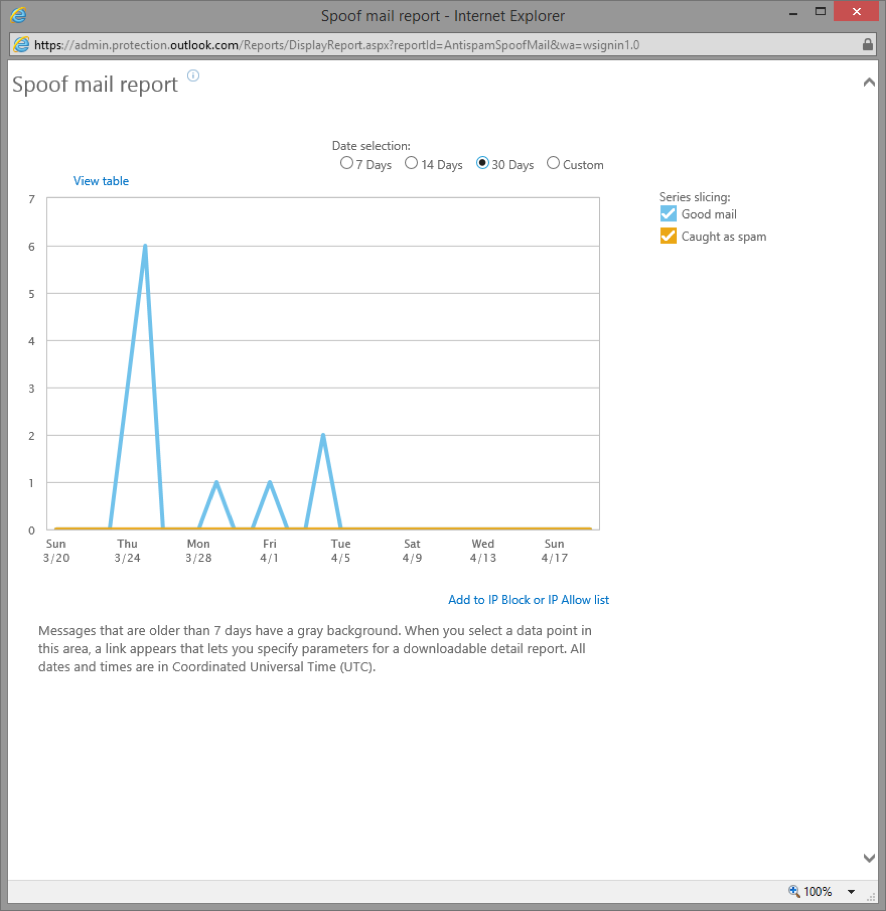
As with the other reports, clicking the “Spoof mail report” link will launch a new window and the data for the last 7 days will be displayed. You have the option to adjust the report timeframe as well as the data series to be displayed (Good mail, Spam mail or both). Here’s how it will look like:
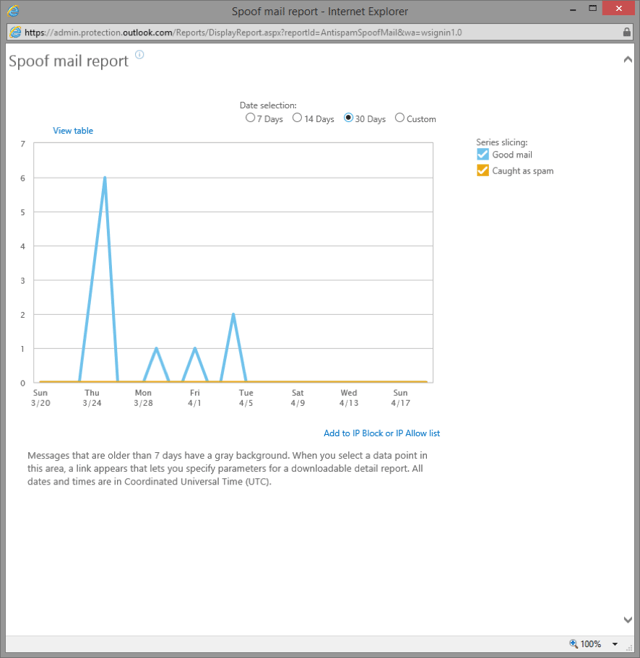
Selecting a data point will show you the detailed breakdown for the spoof mail received on that date in a table below the graph. Unlike other reports however, data points over 7 days long are also available, so you can ignore the warning on the bottom (“Messages that are older than…”).
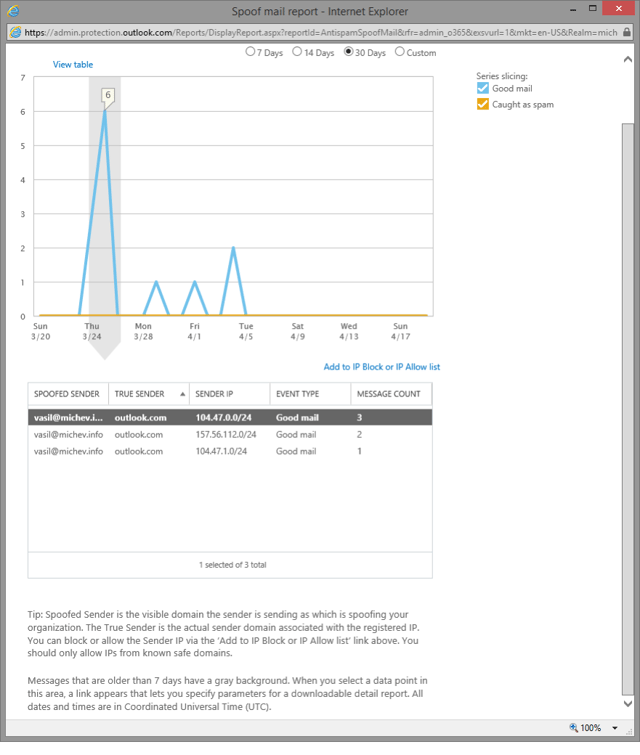
In the details, you will be able to see the Spoofed sender, the True sender as well as the masked IP he was using, the number of messages received and whether some or all of these messages were identified as spoofed. The True sender information is populated based on the reverse DNS lookup on the sender’s IP address, thus in some cases it might be empty. Another interesting observation here is that we are not presented with the actual IP address, but a /24 range.
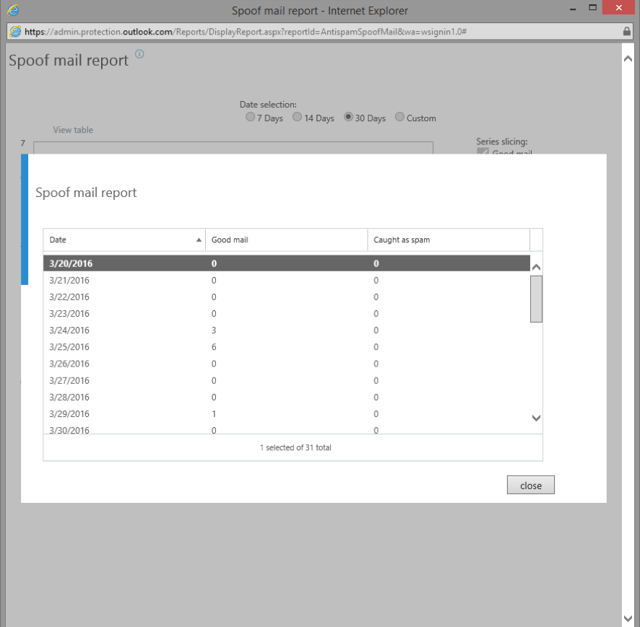
Note that the data is aggregated per day, which will be evident from the PowerShell output in the next section. If you prefer, you can also view the data as a table by pressing the “View table” link on top:
The report also incorporates an “Add to IP Block or IP Allow list” link, which is intended to give you quick access to the Connection filter tab in the Exchange Online Admin center. The idea behind is to be able to easily point you to the correct section, should you decide to act upon one of the messages in the Spoof mail report. Unfortunately, the link doesn’t work as intended and pressing it will present you will the following error:
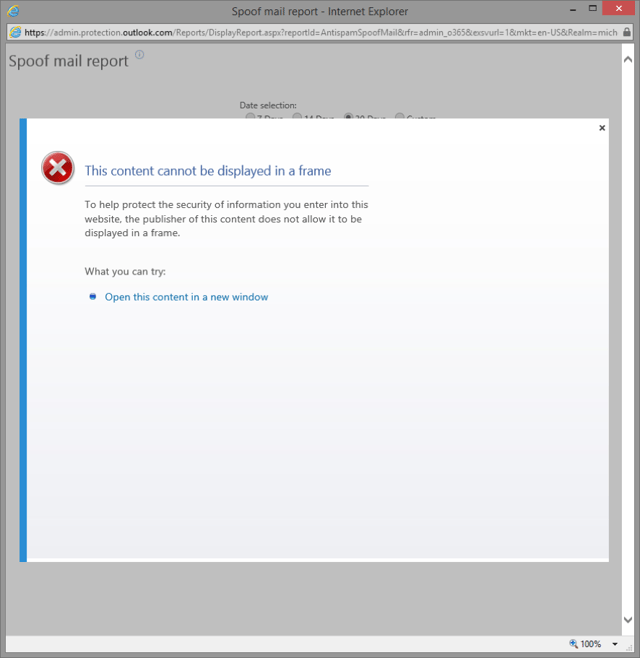
Click the “Open this content in a new window” link to get the desired result, or simply navigate to the EAC via your preferred method. Microsoft will surely fix this minor issue in the coming days.
Unlike the rest of the reports in the Protection section, the ability to Schedule the Spoof mail report is not available. In case you are not familiar with this feature, it allows you to easily schedule one-time, monthly or weekly reports to be delivered to your mailbox. You can find details on it in this TechNet article. Scheduling reports is a great feature to have, so I hope it will be enabled for the Spoof mail report as well in the future.
While scheduling the Spoof mail report might not be possible yet, we can still use PowerShell to get the data and automate the process via a simple script, if needed. The cmdlet responsible for the report is Get-SpoofMailReport, and it has the “standard” set of parameters we get with the other reports. We can use the StartDate and EndDate parameters to define the timeframe, and limit it to display only GoodMail or CaughtAsSpam messages via the Action parameter. The Page and PageSize parameters come handy when working with large data sets. The Direction parameter is not relevant in this case, as the data is accumulated only for Inbound messages.

As you can see, the same information we retrieved via the GUI is presented. Data seems to be sorted by Count by default, so have that in mind when looking at the output. Also note the timestamp – as mentioned above the reports are aggregated per day, which makes it hard to zero in on the actual message. No other information, such as the Subject of the message or the Recipient is presented, so some toying with the message trace will be needed if you want to get your hands on the actual message.
The Spoof Mail report is the newest addition of the Office 365 Protection reports, and it aims to give us an overview of which addresses are being spoofed in the organization. With this information at hand, one should be able to allow or block the IP/domain of the actual sender by either adjusting the Connection filter policy, the SPF or DKIM records for your domain or even a Transport rule in some situations.
While there are some noticeable issues with the report, the information it provides can be very valuable. In time, I’m sure the shortcomings will be addressed. Moreover, this report is just the first step in a series of enhancements Microsoft is preparing in order to allow us to better combat spoofing, as it’s evident from the sneak peek Terry Zink has provided in his blog post. Hopefully, in few weeks’ time, we will be able to give you an overview of the whole process.

Vasil has been actively involved with Office 365 for over four years now. He spent over an year as Support Engineer for Microsoft Online Services with one of Microsoft's vendors, working with BPOS and Office 365 customers. Switching sides, he later held support positions with several multinational enterprises, before finally moving to a consultant role. This varied experience allows him to have an unique perspective on the ins and outs of the Office 365 suite. He has closely followed the evolution of Microsoft's cloud offerings, starting with BPOS, with expertise covering all stages of the Office 365 lifecycle. He holds a charter member certification for Office 365 (MCITP and MCSA), and has been awarded as Microsoft MVP for second year in a row.


Preservation policies were introduced almost a year ago as part of the Compliance Center in Office...


About a year ago, we published an article on how to manage preservation policies in the new...