Are you Ready? Recover an Exchange 2010 Server in Your DAG
If you have ever been in a situation where you have lost a physical Exchange 2010 server from your...


Eventually all good things come to an end and that’s no exception to our 3rd party certificates that allow access to Outlook Web App and other web-based Exchange workloads such as Active Sync or Outlook. This article provides a step by step process on how to update your Exchange 2010 certificates from start to finish. This article also assumes we are using a DigiCert wildcard certificate. Most of this work can be pre-staged before the actual implementation and is highlighted below. With that, let’s begin!
Generating a CSR and making sure it has been well documented on multiple websites is the first step to obtaining an updated wildcard certificate for your Exchange 2010 environment. To ensure that your certificate has a private key refer to the “Using Shell to create a new Exchange Certificate” section in the TechNet article for generating your CSR appropriately.
Whether or not the private key should be exported depends on the application or the organization, and is a requirement for Exchange. The private key certificate is used so the 3rd party certificate can also be used across multiple Exchange servers. The certificate can also be used on the system or device that can authenticate external connections to ActiveSync, Outlook Web App or Outlook Anywhere. An example of this would be Threat Management Gateway (TMG), User Access Gateway (UAG) or a network based appliance. Be sure to investigate these requirements before the certificate updates on the Exchange server. This will need to be done in conjunction with the work below.
Another consideration to make are these same 3rd party private certificates which can be used for Unified Messaging (UM) for both the Exchange Unified Messaging Service and Exchange Unified Messaging Call Router Service if you choose not to use the locally Self-signed certificates. If your organization is planning to integrate UM with Microsoft Lync then it is recommended that you use 3rd party certificates instead of Self-signed certificates (additional details on using 3rd party certificates instead of Self-signed certificates).
Once your 3rd party certificate provider has generated the new certificate it must be downloaded onto the server that the CSR was generated from. If a different Exchange server is used to import the certificate then the private key will not be exportable.


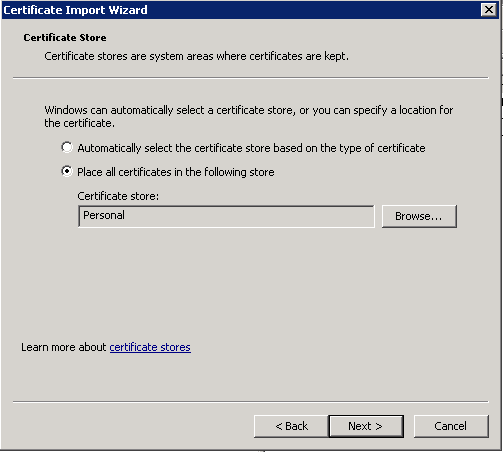
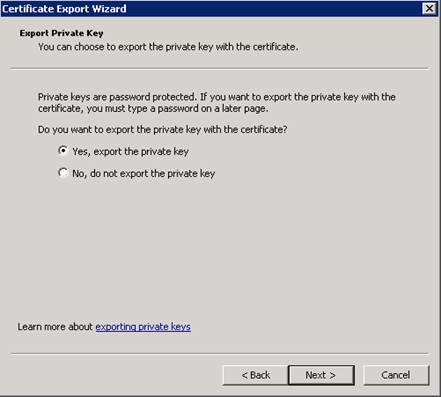
Export Private Key Certificate
Exchange is expecting that the certificate used will be the private key certificate. The following steps will provide guidance on how to do this.


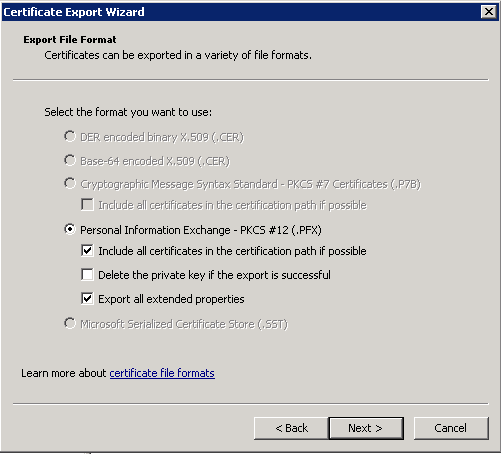
Note: If you need to export the private key certificate again for any reason this exact password will be required.
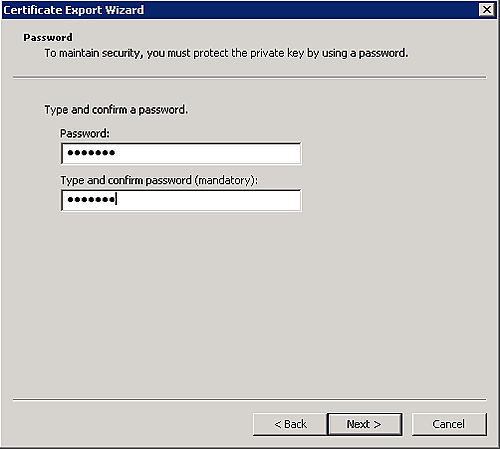
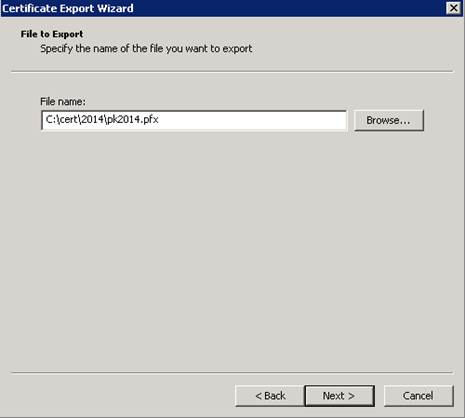
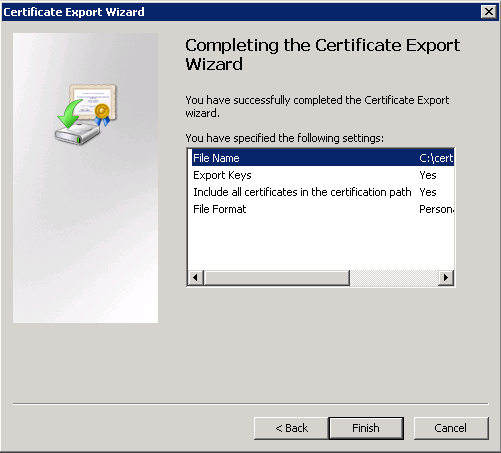
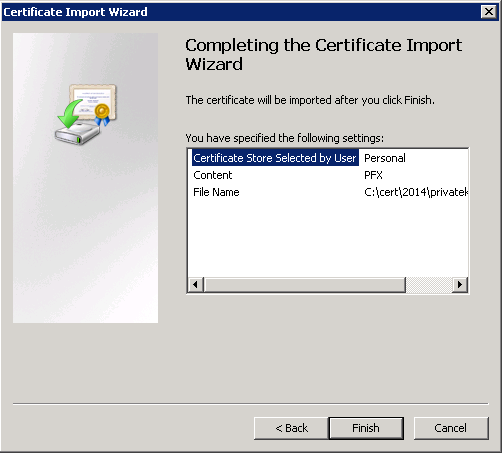
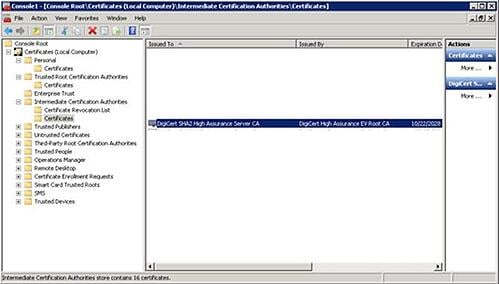
Import the Private Key Certificate into the Certificate Store
**Important: This must be done on each Exchange server in your environment that requires a certificate. The same private key certificate file should be used across all of the servers**
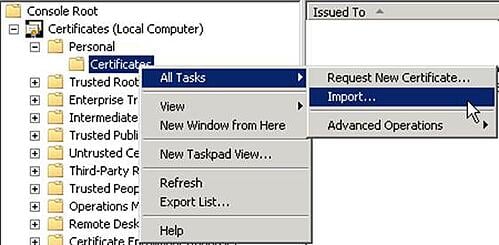
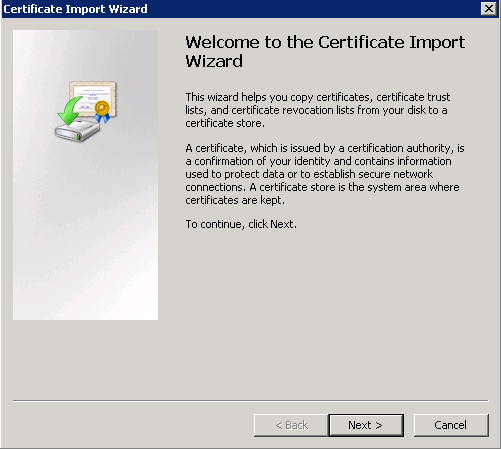
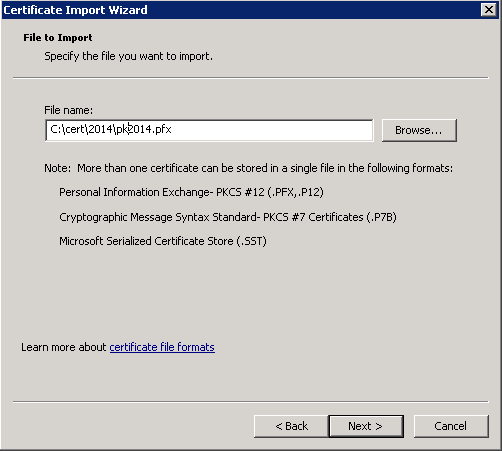
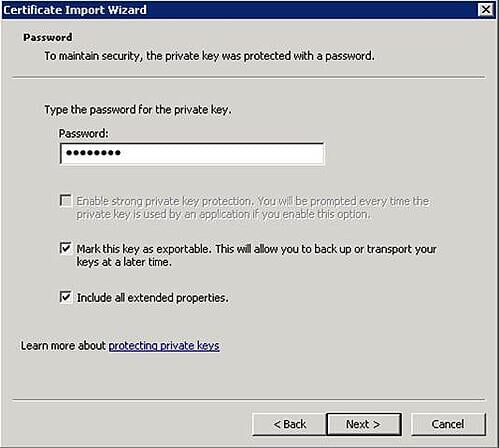
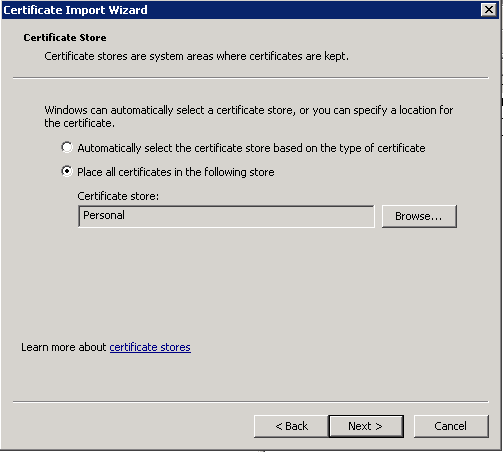

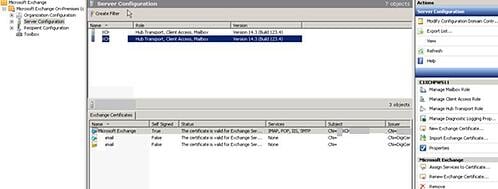
Note: It may take up to 30 seconds for the Exchange certificates to load on the bottom of the screen
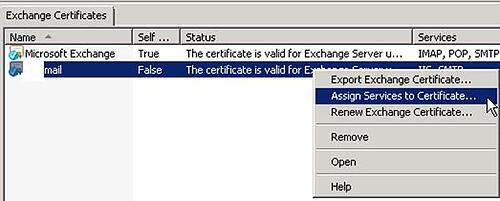
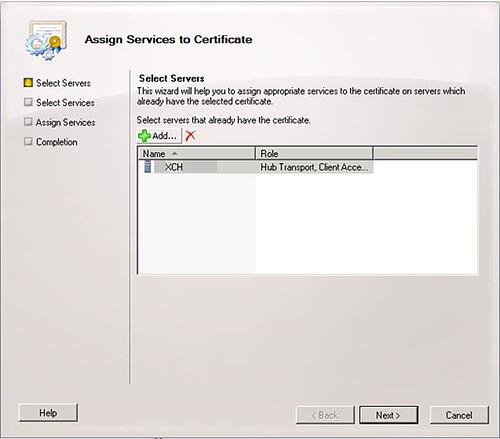
Note: The other options such as POP and IMAP will only be required if these are configured for external access are secured via SSL. For more information on when POP or IMAP may need to be used see the following Technet Article http://technet.microsoft.com/en-us/library/jj657728(v=exchg.150).aspx
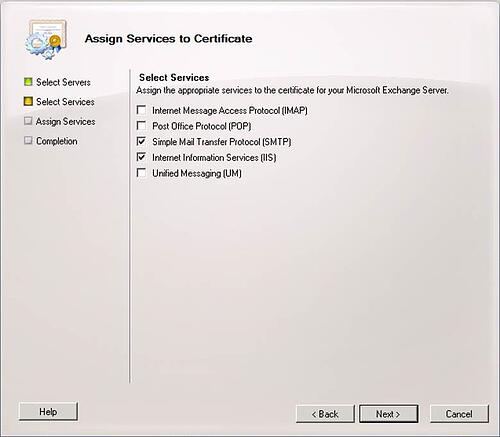
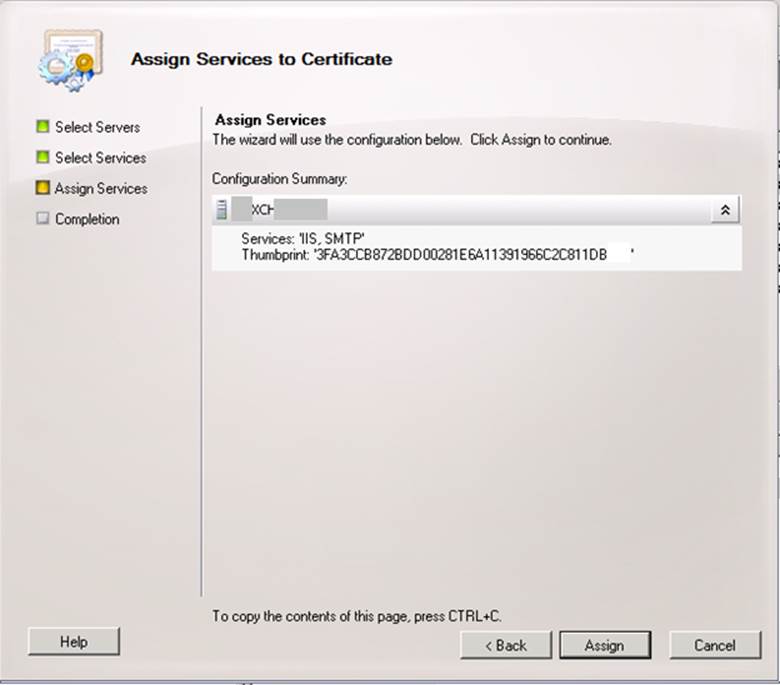
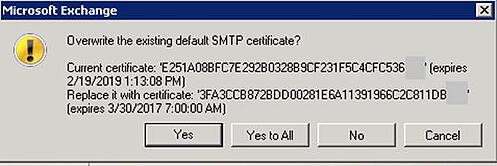
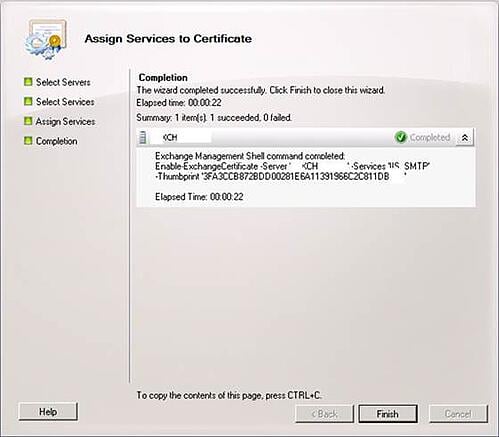
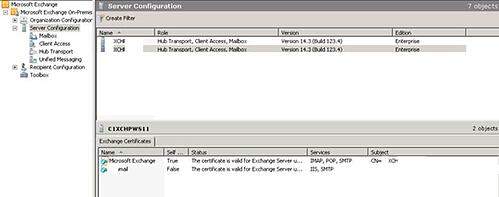
Voila! After following these steps, the certificates on your Exchange server will have been successfully completed.

Theresa is a Sr. Technical Systems Administrator and has been working as a technical expert in IT for over 18 years. Theresa has her MCSE, CCA and EPIC ECSM certifications. Her areas of expertise are in the areas of Exchange, Active Directory, Lync, SharePoint and Citrix XenApp. She has architected, designed, implemented and led complex projects in all of these areas. She also is a public speaker, speaking at events such as Briforum 2013 and upcoming will be at E2E Virtulization conference in May 2014.


If you have ever been in a situation where you have lost a physical Exchange 2010 server from your...

Many people want to use multiple IP addresses on a single NIC interface with Exchange 2013 and...