After preparing federation between Office 365 and the on-premise Active Directory and configuring the Office 365 tenant in the previous post, this article describes the installation of the Microsoft Online Services Directory Synchronization Setup (DirSync).
DirSync is required to synchronize your on-premise accounts and security groups to Office 365.
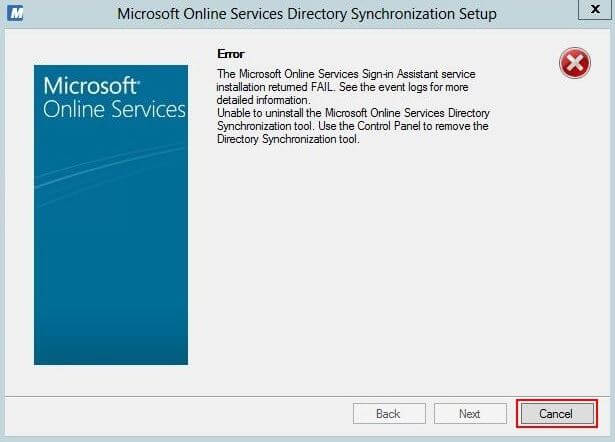
The setup file has been downloaded from the Office 365 admin center previously. Be aware that you might receive an error during setup.
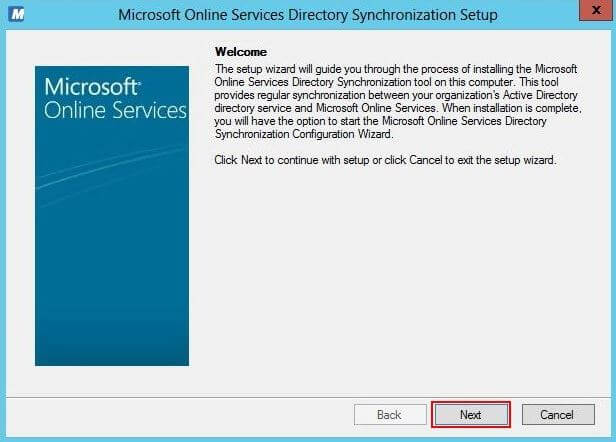
Click Next in the welcome screen:
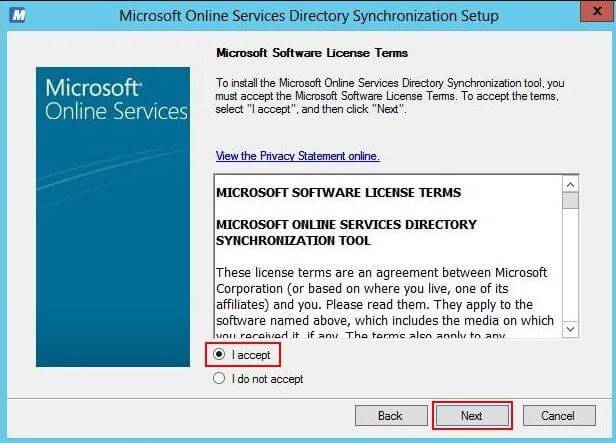
As usual accept the EULA and click Next:
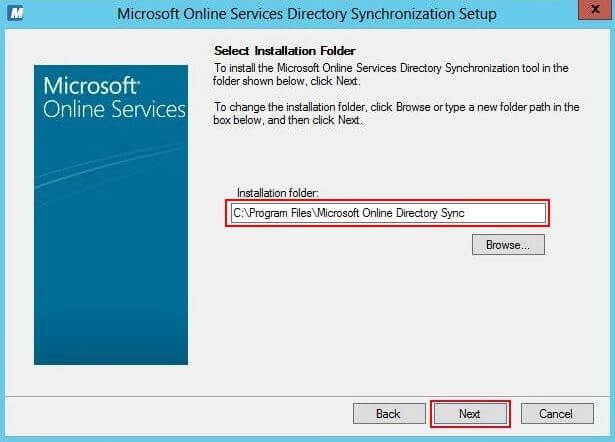
Verify the installation folder and click Next:
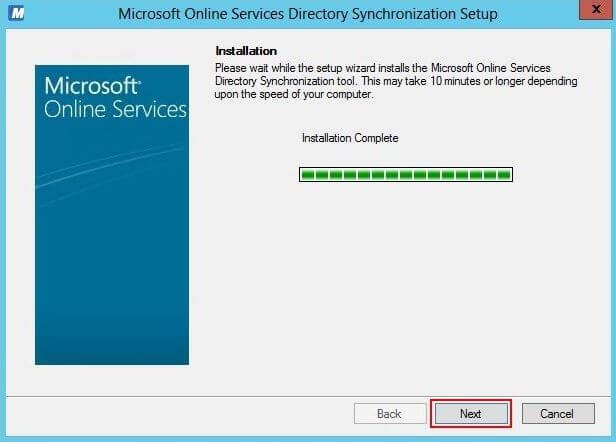
After the installation has finished, click Next. If you have received an error, you might need to uninstall DirSync and the Online Services Sign-In Assistant.
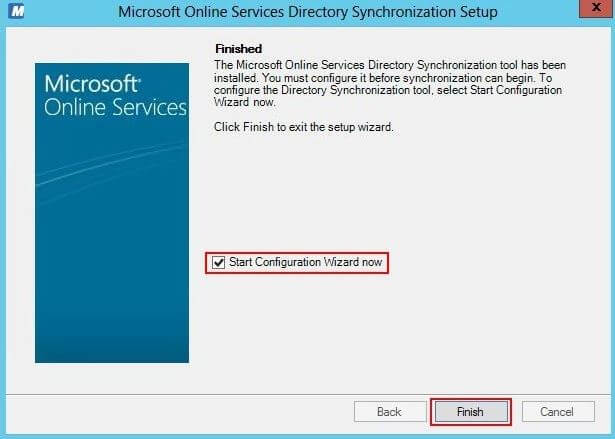
At this setup DirSync has only be installed on the server, but not configured.
Check the checkbox to start the configuration wizard and click Finish.
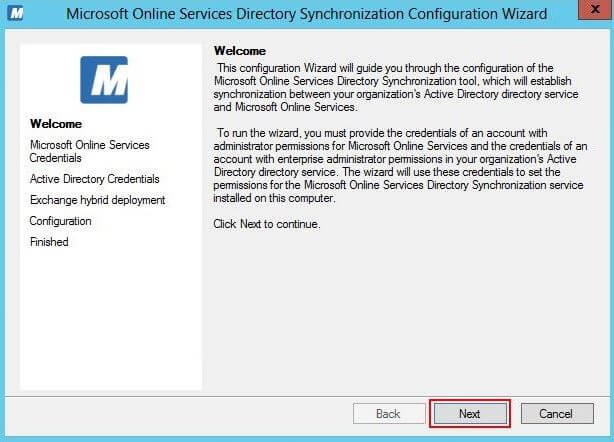
Skip the welcome screen by clicking Next.
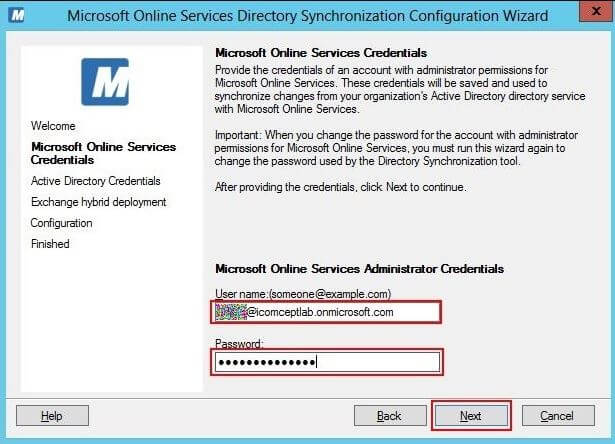
Enter the credentials for an Office 365 user that has administrative permissions for your Office 365 tenant. Be aware that the password policy of Office 365 require regular password changes. This is not reasonable for an account which is used by a service. You need to decide, whether you exempt this account from the password policy or if you want to change the password on a regular basis.
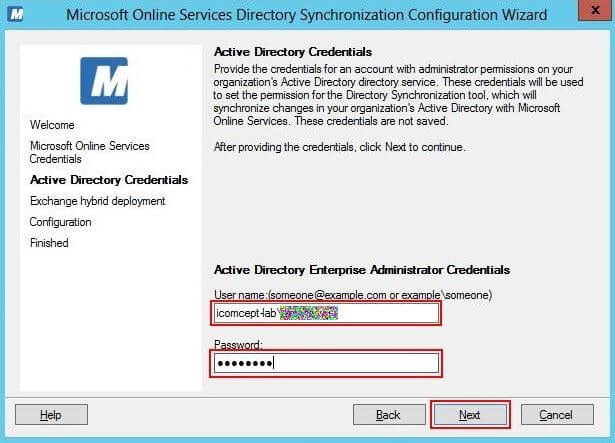
The next step queries for account credentials for an on-premise user which is a member of the Domain and Enterprise Administrators.
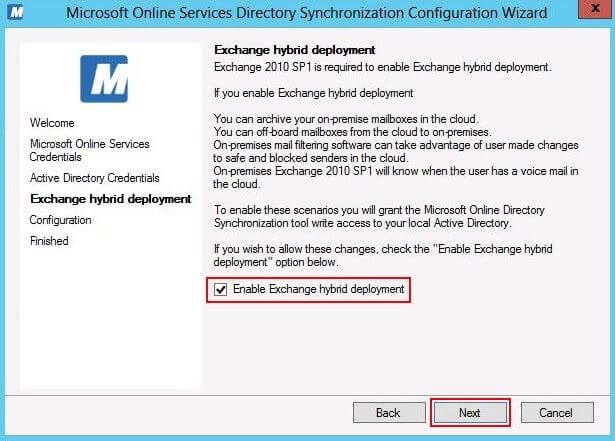
Enable the Exchange hybrid deployment. This configuration allows DirSync to modify certain attributes in the on-premise Active Directory to reflect configuration changes made in Office 365 for hybrid setups.
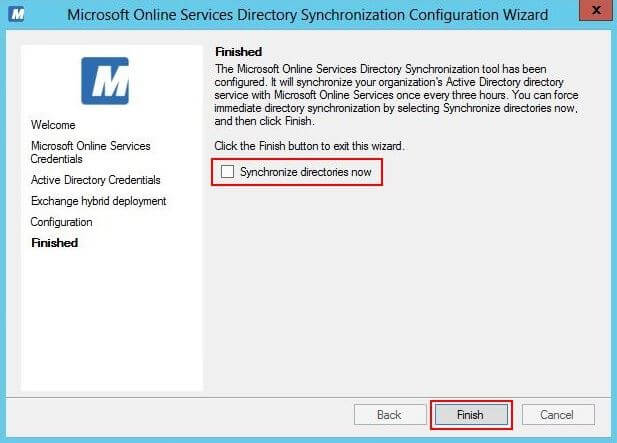
Deselect the Synchronize directories now as we want to configure dedicated OUs to be synchronized with Office 365.
You can use the Synchronization Service Manager to configure the organizational units which should be synchronized with Office 365. The Synchronization Service Manager is normally located in the following folder:
C:\Program Files\Microsoft Online Directory Sync\SYNCBUS\Synchronization Service\UIShell
Start the program miisclient.exe
Select Management Agents and double-click the SourceAD Management Agent.

Select the Configure Directory Partitions step and click the Containers button.
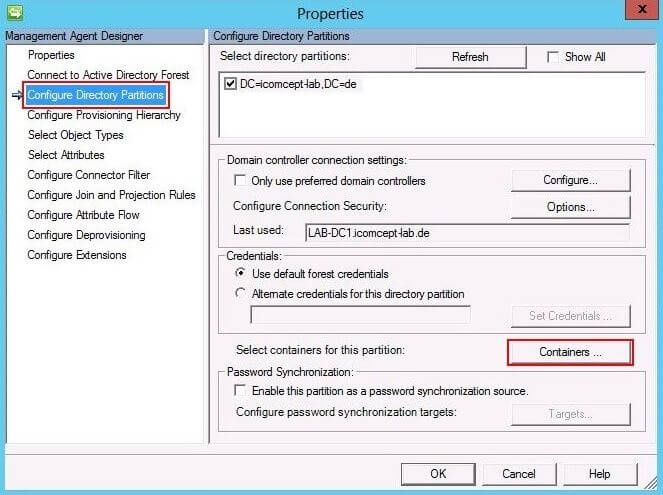
Enter your administrative credentials, connect to the on-premise Active Directory and select the organization units that you need to have synchronized to Office 365.
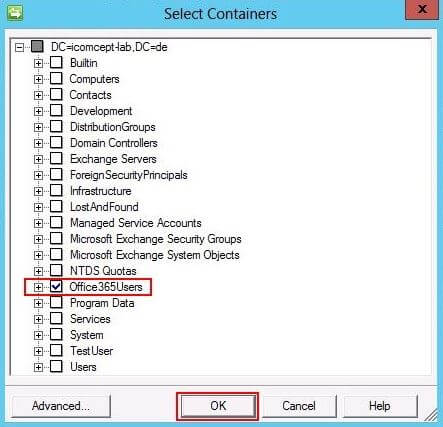
Click OK twice to save your changes.